How to Calculate the Number of Tiles in A Room
Tiling a room can be a great way to transform the space and add both style and functionality. However, before you embark on your tiling project, it's essential to determine the precise number of tiles required to cover the room effectively. Miscalculating the tile count can lead to costly waste or insufficient materials, so it's crucial to get it right. In this guide, we'll walk you through the process of calculating the number of tiles needed for your room.
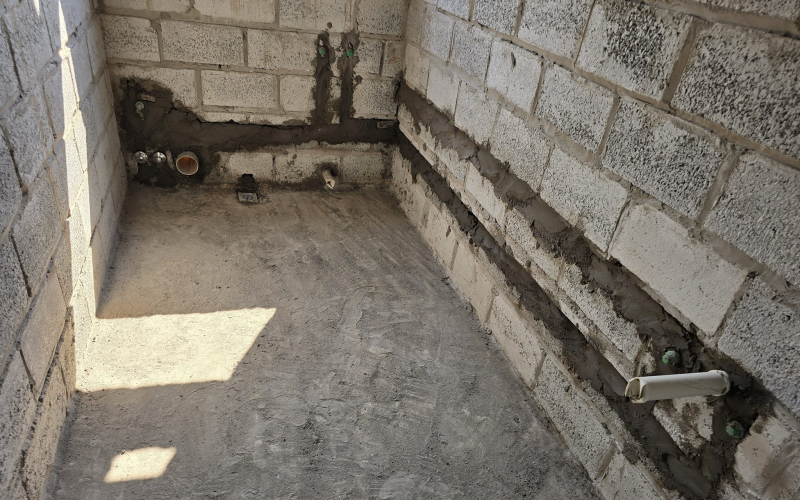
Step 1: Measure the Room
The first step is to accurately measure the length and width of the room in either feet or meters. Be sure to round up to the nearest whole number to account for any irregularities in the room's shape.
Step 2: Calculate the Total Square Footage
Multiply the length and width of the room to determine the total square footage. This will give you the total area that needs to be covered with tiles.
Step 3: Determine the Tile Size
Tiles come in a variety of standard sizes, such as 12x12 inches, 18x18 inches, or 24x24 inches. Make sure to note the size of the tiles you plan to use for your project.
Step 4: Convert the Tile Size to Square Feet
To make the calculation easier, convert the tile size to square feet. For instance, a 12x12 inch tile is equivalent to 1 square foot.
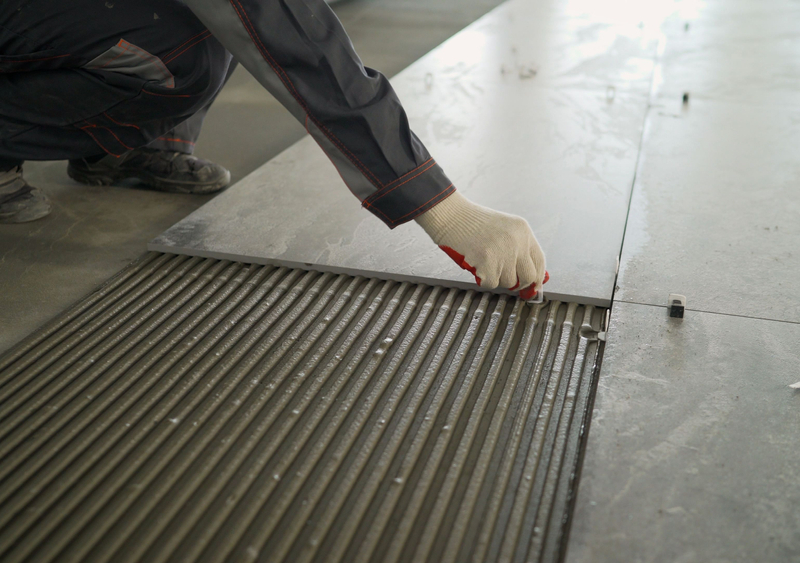
Step 5: Consider Grout Joints and Spacing
When calculating the number of tiles needed, it's important to factor in the width of the grout joints and any spacing between the tiles. Typically, a 1/8-inch to 1/4-inch grout joint is recommended, and the spacing between tiles can vary depending on the type of tile and the desired aesthetic.
Step 6: Calculate the Number of Tiles Needed
Divide the total square footage of the room by the square footage of each tile. This will give you the approximate number of tiles required to cover the room.
Step 7: Add Extra Tiles
It's always a good idea to add an extra 10-15% of tiles to your total count to account for cuts, mistakes, and any full tiles that need to be trimmed to fit the space.
Example Calculation
Let's say you have a room that measures 15 feet by 20 feet, and you plan to use 12x12-inch tiles.
Room size: 15 feet x 20 feet = 300 square feet
Tile size: 12x12 inches = 1 square foot per tile
Tiles needed: 300 square feet / 1 square foot per tile = 300 tiles
Add 10-15% extra: 300 + (300 * 0.15) = 345 tiles
So, for this room, you would need approximately 345 tiles to complete the project.
Common Pitfalls to Avoid
When calculating the number of tiles needed for a room, it's easy to make mistakes. Some common pitfalls include:
1. Forgetting to measure the room accurately: Even small measurement errors can significantly impact the final tile count.
2. Overlooking irregularities in the room's shape: Rooms with alcoves, angles, or other unique features may require more tiles than a simple rectangular space.
3. Underestimating the amount of waste: Tiles may need to be cut to fit around fixtures or along the edges of the room, resulting in more waste than expected.
4. By being mindful of these potential pitfalls and following the steps outlined in this guide, you can ensure that you have the correct number of tiles to complete your room tiling project successfully.
Cutting Tiles to Fit the Edges
After laying the full tiles, you'll likely need to cut tiles to fit along the edges of the room and around any obstacles, such as fixtures or walls. When cutting tiles, it's important to use the appropriate tools and techniques to ensure a clean, professional-looking finish.
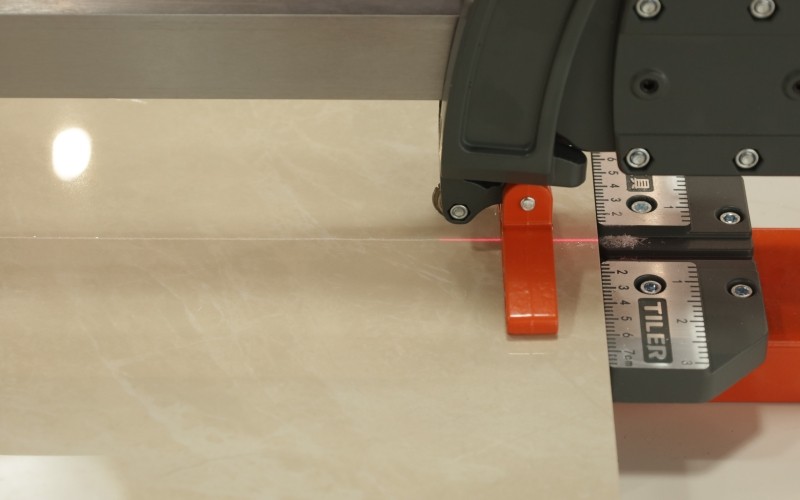
1. Use a tile cutter or wet saw to make clean, straight cuts. For a hassle-free cutting experience, consider the TILER manual tile cutter, which is designed to be dust-free, quiet, and easy to operate. The TILER cutter features a built-in scoring wheel that allows you to precisely mark the cutting line and an easy sliding system that provides a stable platform for clean, accurate cuts.
2. Measure the space carefully and mark the tile where it needs to be cut. Take your time and double-check the measurements to avoid mistakes.
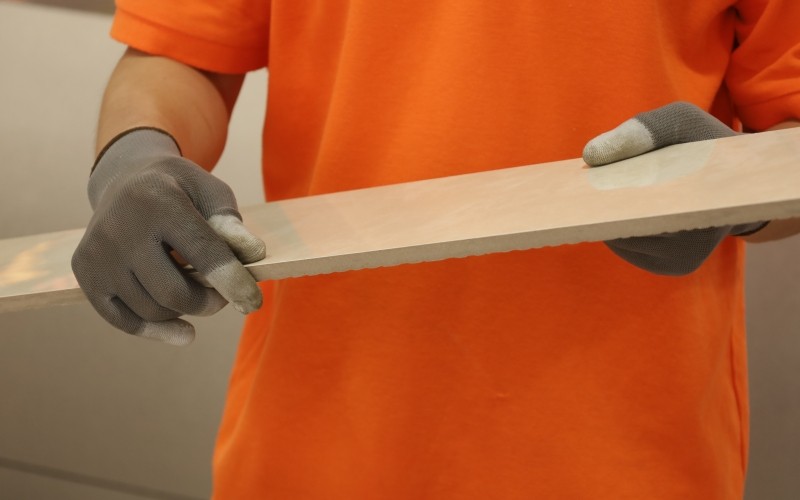
3. Wear safety goggles and gloves to protect yourself during the cutting process.
4. Practice cutting on scrap tiles first to get a feel for the process. This will help you develop the right technique and ensure that your cuts are clean and consistent.
5. When cutting tiles, it's important to use the right tools and techniques to ensure a professional-looking finish. Avoid using a hammer and chisel, as this can lead to uneven, jagged edges. Instead, opt for a high-quality tile cutter or wet saw, which will provide you with clean, straight cuts every time.
6. If you're working with natural stone or porcelain tiles, a wet saw is the best option, as it uses a continuous stream of water to cool the blade and prevent chipping or cracking. The TILER manual tile cutter is an excellent choice for cutting ceramic and porcelain tiles, as it allows you to make precise, controlled cuts without the mess and noise associated with power tools.
By carefully planning for and executing the tile-cutting process, you can ensure that your final tiled surface looks seamless and visually appealing. Take your time, measure accurately, and use the right tools for the job, and you'll be rewarded with a beautiful, professional-looking tiled space.